Tag: easy breakfast

  • Easy Greek Yogurt Cinnamon Rolls (No Yeast Required)

    Easy Greek Yogurt Cinnamon Rolls (No Yeast Required)

    Sometimes you want homemade cinnamon rolls without turning breakfast into an all-morning project. You want the soft dough, the cinnamon-sugar swirl, and the sweet glaze—but you don’t necessarily want to wait for yeast dough to rise.

    That’s where these Greek yogurt cinnamon rolls come in.

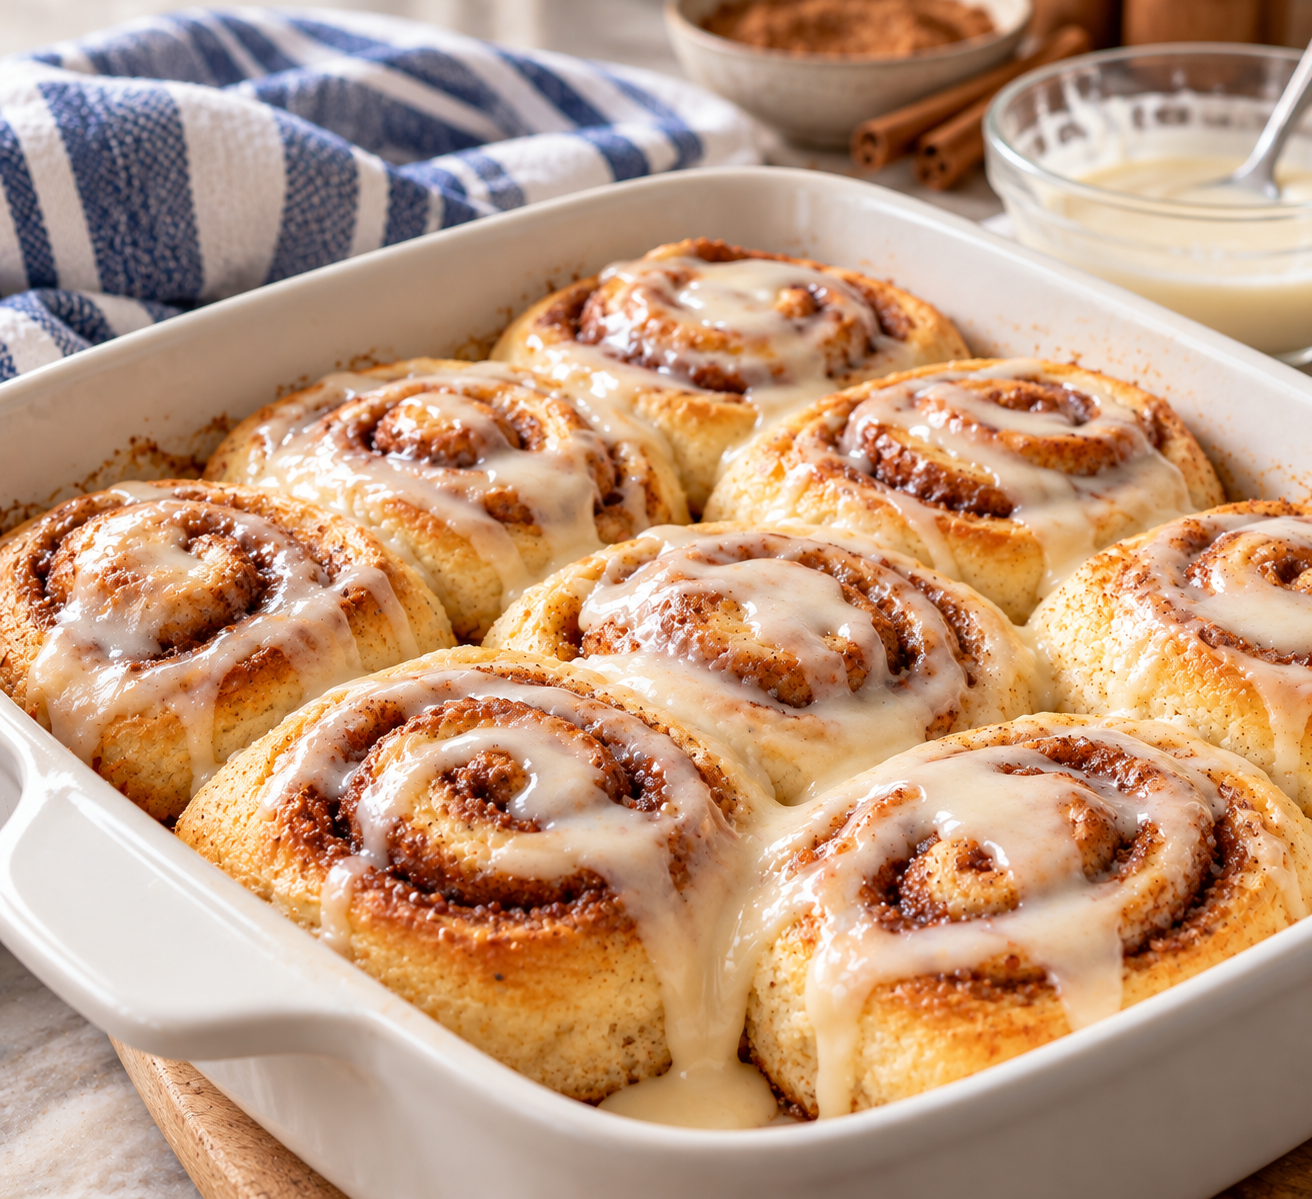
    This version uses baking powder and baking soda instead of yeast, with Greek yogurt to bring the dough together. Roll it out, brush it with melted butter, add brown sugar and cinnamon, then roll, slice, and bake.

    There’s no yeast and no rising time to wait through. Just a simpler way to make cinnamon rolls when the craving strikes.

    Our Greek Yogurt Cinnamon Rolls

    Prep time: Approximately 15 minutes
    Bake time: 20–25 minutes
    Oven temperature: 350°F
    Yield: 8–10 rolls

    Ingredients

    For the dough

    • 2 cups all-purpose flour
    • 2 teaspoons baking powder
    • ½ teaspoon baking soda
    • 1 cup Greek yogurt
    • 2–4 tablespoons milk

    For the cinnamon filling

    • ¼ cup melted butter, for brushing over the dough
    • ⅓ cup brown sugar
    • 1 tablespoon cinnamon

    For the glaze

    • ½ cup powdered sugar
    • ½ tablespoon vanilla
    • 1–2 teaspoons milk

    How to Make Them

    1. Mix the dry ingredients.

    In a mixing bowl, combine the flour, baking powder, and baking soda.

    2. Add the yogurt and milk.

    Add the Greek yogurt and 2 tablespoons of milk to start. Knead the mixture until a smooth dough forms, adding the remaining milk a little at a time as needed to bring the dough together.

    3. Roll out the dough.

    On a lightly floured surface, roll the dough into a rectangle about ¼ inch thick.

    4. Add the butter and cinnamon-sugar filling.

    Brush the melted butter over the rolled-out dough. Sprinkle the brown sugar and cinnamon evenly across the surface.

    5. Roll and slice.

    Roll the dough into a log, then cut it into approximately 8–10 rolls.

    6. Arrange in a baking dish.

    Place the rolls in a greased baking dish, leaving a little space between them.

    7. Bake.

    Bake uncovered at 350°F for 20–25 minutes, until the rolls are cooked through and lightly golden.

    8. Make the glaze.

    While the rolls bake, whisk together the powdered sugar, vanilla, and 1 teaspoon of milk. Add the remaining milk as needed to reach a consistency you can drizzle over the rolls.

    9. Drizzle and serve.

    When the rolls come out of the oven, drizzle the glaze over the top. Serve warm.

    Why We Like This Shortcut

    Traditional cinnamon rolls made with yeast can be wonderful, but they take more time because the dough needs to rise.

    This version skips that waiting period. The Greek yogurt, flour, baking powder, and baking soda make a different kind of dough, but the process is straightforward and the cinnamon-sugar filling gives you the familiar flavor that makes cinnamon rolls so appealing.

    It’s a good option for a weekend breakfast or a sweet treat when you don’t want to plan hours ahead.

    The Little Things That Matter

    A few simple details help this recipe come together:

    • Add the milk gradually. Start with 2 tablespoons and add more as needed until the dough comes together smoothly.
    • Roll the dough evenly. Aim for about ¼ inch thick so you can spread the filling and roll it into a log.
    • Leave a little space between the rolls. They’ll have room to bake in the dish.
    • Glaze while warm. Drizzling the glaze over the rolls as soon as they come out of the oven gives you that sweet finish without another complicated step.

    The Worth It Test

    ★★★★☆ Worth it, with caveats.

    These cinnamon rolls are worth trying when you want a homemade cinnamon-roll treat without the time commitment of yeast dough.

    The biggest advantage is convenience: no yeast, no rising time, and a short list of everyday ingredients. The trade-off is that this is a shortcut-style dough, so the texture won’t be exactly the same as traditional yeast cinnamon rolls.

    For a quicker homemade option that still delivers cinnamon, brown sugar, butter, and sweet glaze, that’s a trade-off worth considering.

    And sometimes, the best recipe is the one that makes a little treat possible on an ordinary morning.
  • Our French Toast Trick: The Simple Ingredient That Makes It Better

    Our French Toast Trick: The Simple Ingredient That Makes It Better

    Our French Toast Trick: The Simple Ingredient That Makes It Better

    Some weekend mornings call for something a little sweeter than the usual breakfast. French toast is one of our favorites because it’s easy, uses ingredients we usually have on hand, and makes an ordinary morning feel a little more special.

    Our little trick? We add maple syrup directly to the egg mixture.

    It’s a small change, but it adds sweetness throughout the French toast—not just on top. With cinnamon, half-and-half, and a little butter in the skillet, you have a simple breakfast that feels like a treat without a complicated recipe.

    Our Easy French Toast Recipe

    Prep time: 5 minutes
    Cook time: Approximately 10–15 minutes
    Yield: About 4–6 slices

    Ingredients

    • 3 eggs
    • ½ cup half-and-half
    • 1 tablespoon maple syrup
    • 1 teaspoon cinnamon
    • 4–6 slices of bread, depending on thickness
    • Butter for frying

    For serving:

    • Butter
    • Maple syrup
    • Fresh fruit
    • Whipped cream

    How to Make French Toast

    1. Whisk together the egg mixture.

    In a shallow bowl, whisk the eggs, half-and-half, maple syrup, and cinnamon until combined.

    2. Dip and briefly soak the bread.

    Dip each slice of bread into the mixture, coating both sides, and let it soak briefly so it absorbs some of the mixture. Use whatever bread you have on hand. Thicker slices may need a little longer than thinner ones.

    3. Cook in butter.

    Heat a skillet over medium heat and melt a little butter. Place the dipped bread in the skillet and cook until golden brown. Flip and cook the other side until evenly browned and the egg mixture is cooked through.

    The trick is to avoid turning the heat up too high. If the outside browns before the middle is cooked, lower the heat and give it a little more time.

    4. Add your favorite toppings.

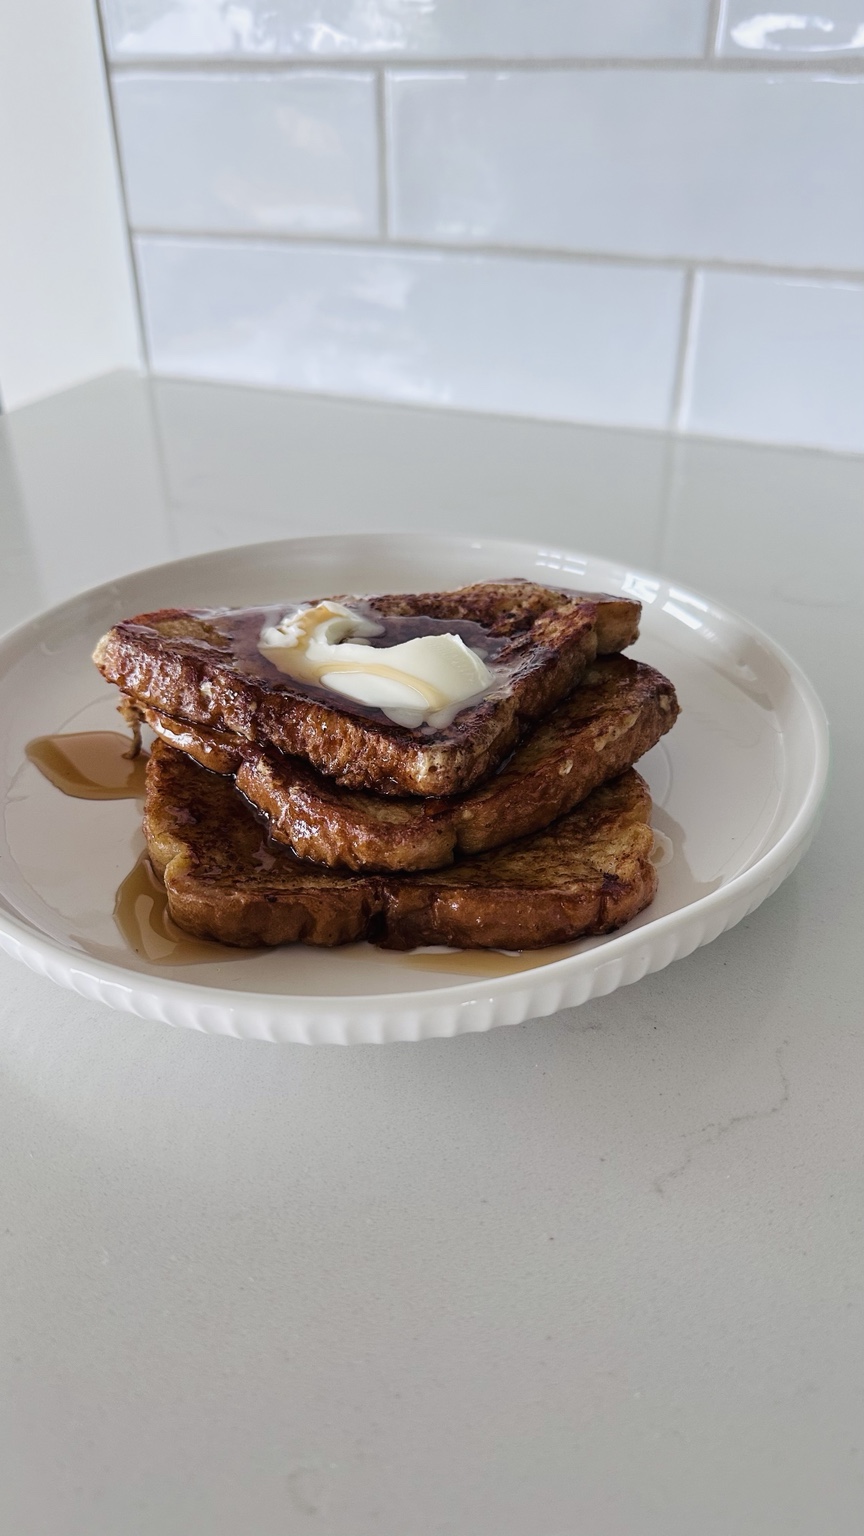
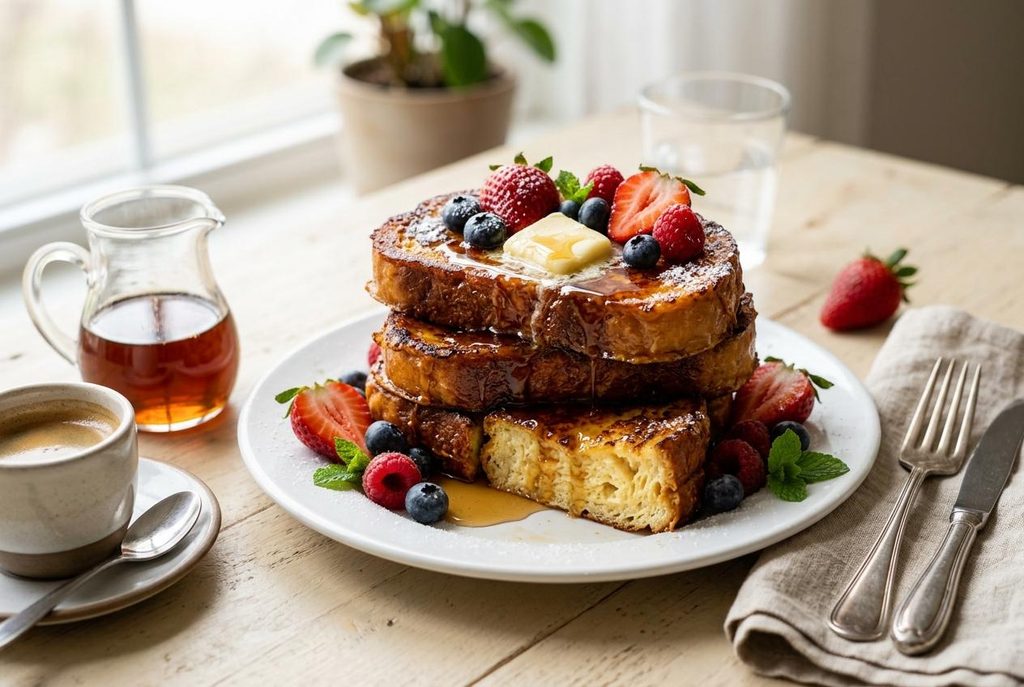
    Serve warm with butter and maple syrup. Fresh fruit and whipped cream make it feel extra special, but the toppings are entirely up to you.

    That’s it. No special equipment, no complicated ingredients, and no need to make a grocery trip just for breakfast.

    The Little Trick That Makes It Better

    Maple syrup usually goes on French toast after it’s cooked. We add a tablespoon to the egg mixture, too.

    That little bit of sweetness becomes part of the French toast itself, while the syrup on top adds another layer of flavor.

    It’s not a complicated cooking technique or a secret ingredient you have to track down. It’s just a small adjustment to a breakfast we already love.

    And sometimes, those are the changes worth keeping.

    Use What You Have

    One of the things we appreciate about this recipe is its flexibility. You don’t have to buy a special loaf of bread to make good French toast.

    Use what’s already in the kitchen. The cooking time may vary depending on the thickness and type of bread, so pay attention to how it’s browning and make sure the center cooks through.

    Serve it with whatever fruit you have, add whipped cream if you’re in the mood, or keep things simple with butter and syrup.

    You don’t have to turn every weekend breakfast into an event. But when you’re craving something sweet, a few everyday ingredients can go a long way.

    The Worth It Test

    ★★★★★ Absolutely worth it.

    This recipe earns its place in our weekend rotation because it delivers something special without asking much in return.

    The ingredients are simple, the preparation is easy, and the maple syrup trick takes almost no extra effort. Best of all, you can use the bread you already have instead of making a special trip to the store.

    It’s not about creating the fanciest breakfast. It’s about taking something simple and making it a little better.

    And that’s what makes it worth the making.